I recently picked up a 46 bow front fish tank. I saw it on Craigslist List and it was only a few miles away, so I could not resist. Once I got it, I realized the stand will be a little bit tricky to build. Glass aquariums are supported solely on the four corners of the tank. Many of the simple stands I have built only support the corners of the aquarium, including my 150 gallon reef tank.
The tank was not drilled and after checking with the manufacture I found that it has a tempered glass bottom, so I needed to drill the back. This is not an issue, but it means that the plumbing will need extra space to the back of the tank, which should be incorporated in the stand. I always try to build things so all the important bits protected. If the pluming is left unsupported or exposed it’s just makes it so much easier to break something and make a 46 gallon mess.
This is the design I wanted, it’s fairly simple and I have plenty of scrap lumber that I could build without having to buy any additional lumber. After several hours searching for a stand that would fit my needs I found that I would need to take several different idea and merge them together.
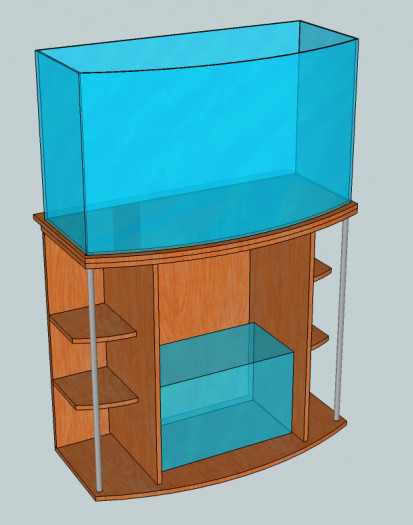
I started with the hard part first the top and bottom. Since the would need a arc cut and match, I figured this is the place to start. Fortunately I recently picked up a grizzly band saw, but you can easily make the cuts with a jig saw. I used the tank a template and marked the plywood.
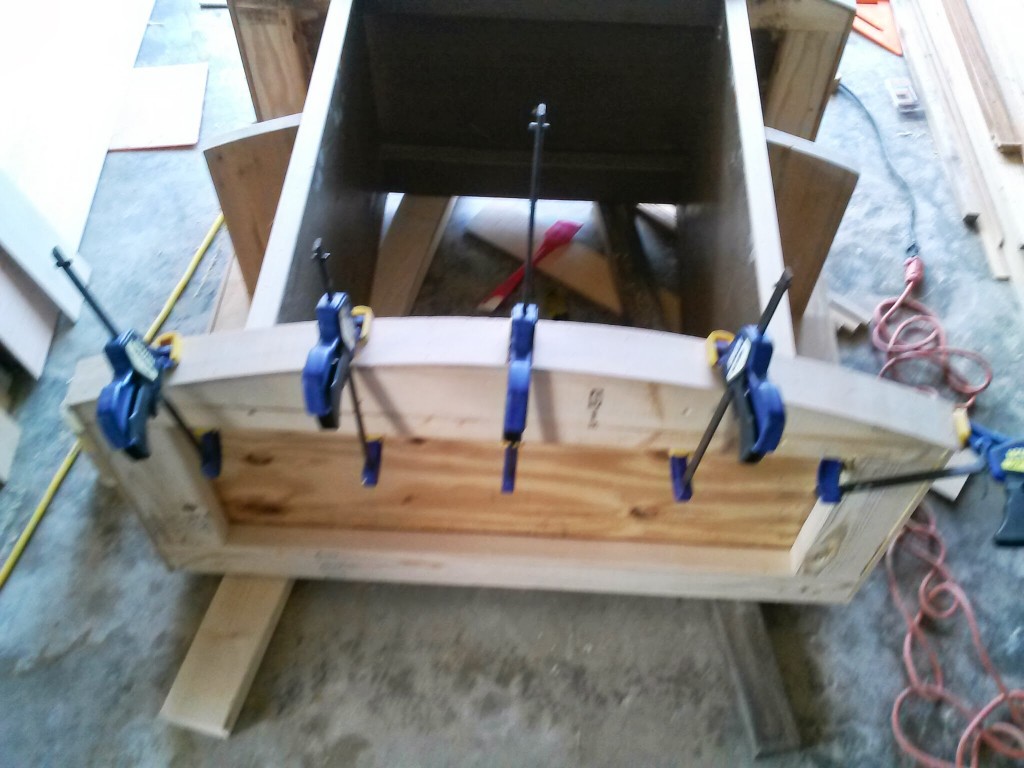
Basically I cut out two pieces of 3/4 in plywood that was the shape of the tank. I added 3.5 inches to the back side, so I could use a 2×4 depth to run the pluming and a 2×4 to hide the pluming. Once you have to two pieces of plywood I used a 2×6 at the front to support the front of the tank and 2x4s around the rest of the base and top. The base and top are identical. I actually screwed them together and shaped them as a single unit. This way they both would come out the same.
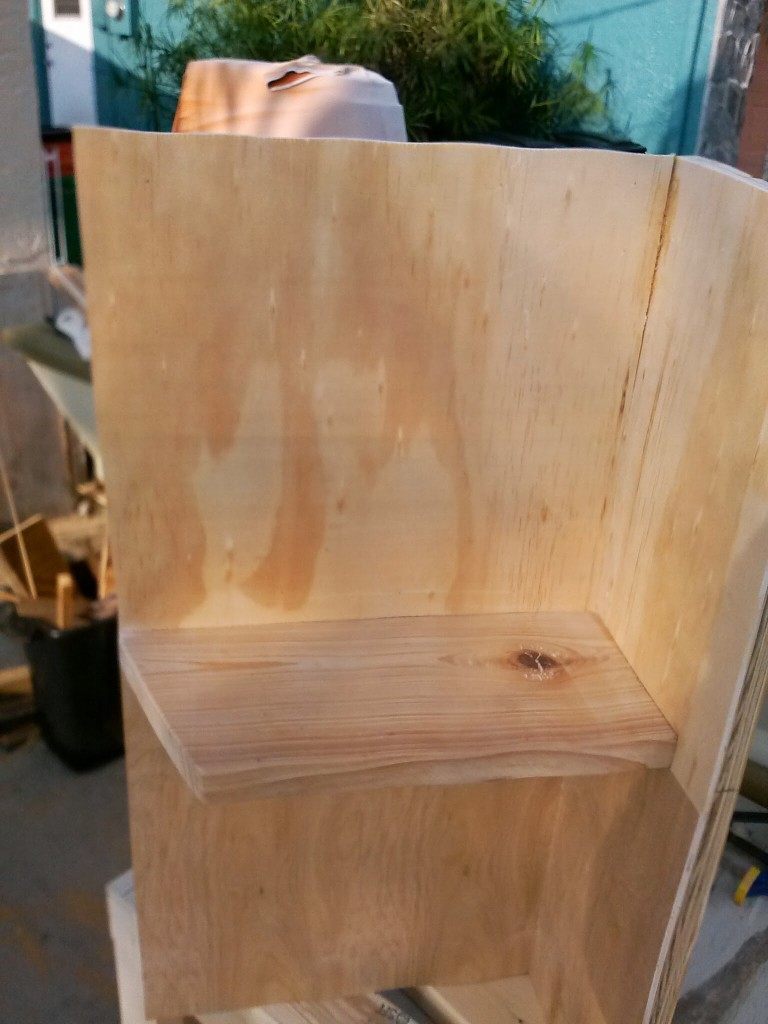
After I had the base and top shaped I built the shelving and base for the stand. The image seems some what distorted the top of the shelf does not have ripples in it… I need two support so I made them exactly the same. The measurement of the shelves are based on the largest size I could fit on the base and still have a 10 gallon tank fit between the supports.
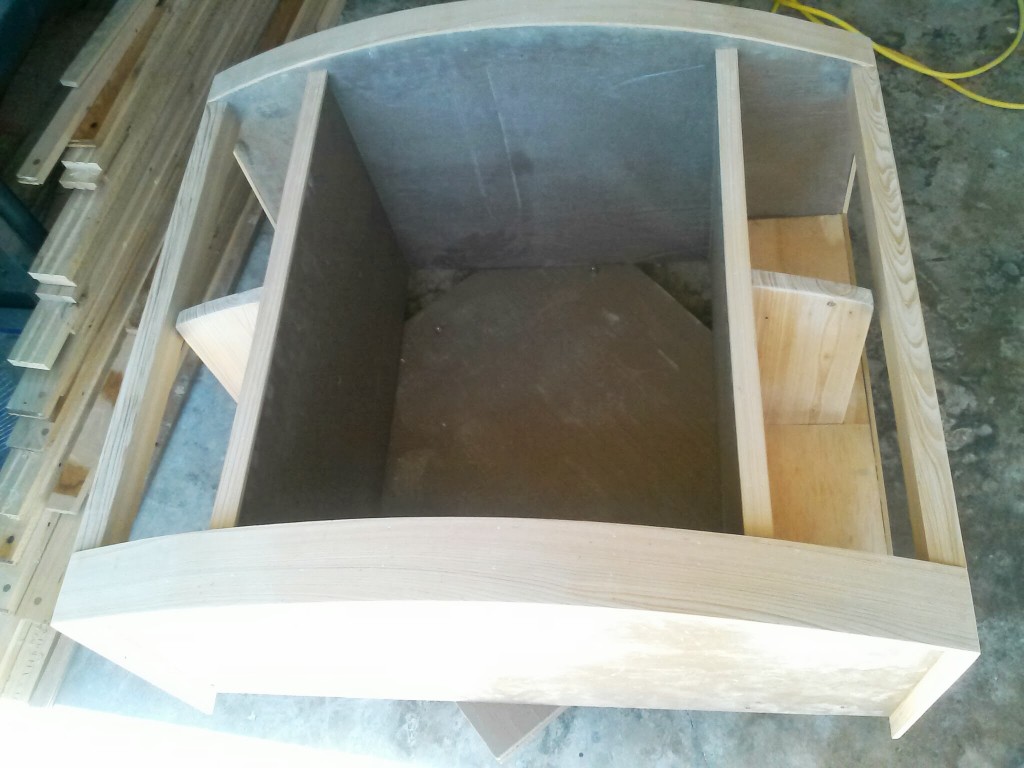
I was going to use PVC as additional support but it was going to be a lot more work and I don’t think it would look any better than the 100 year old cypress I used. I had thought about building the entire stand from cypress but decided it would use more than I wanted to dedicate to this project. So instead I cut 1/4 thin strips and just attached a thin veneer to all the bits and pieces that are visible and used pine and plywood for the rest.
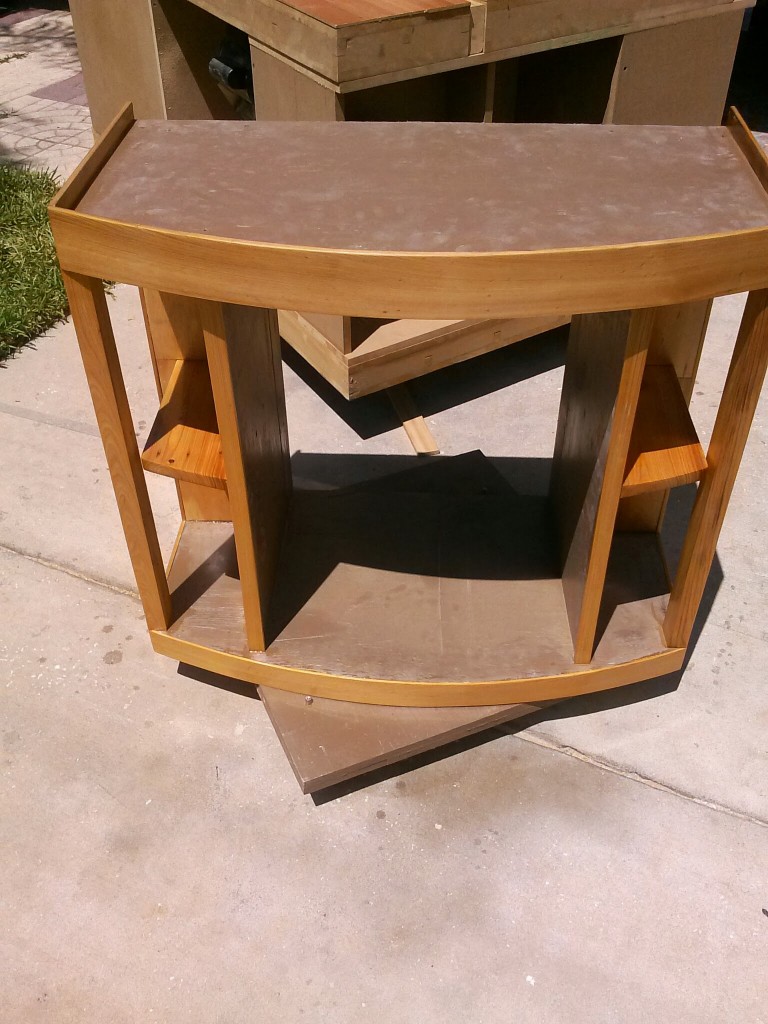
I painted all the exposed plywood with several coats of exterior paint. Then finished all the cypress with a satin polyurethane. Bending the wood for the base and top was a bit tricky. I glued the strips and used lots of clamps and pin nailer for extra holding power. Also I made the top veneers one inch wider so it would conceal the bottom frame of the tank.
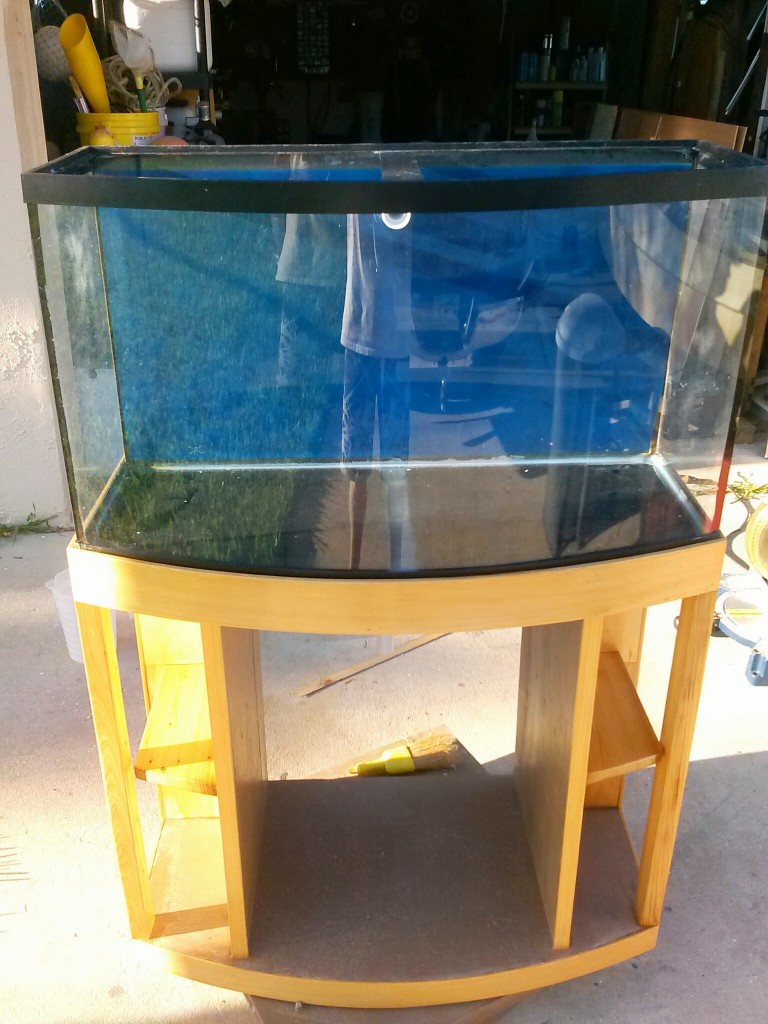
The tank fit perfectly on the stand a couple of more coats and it will be ready for the pluming.