One of the most important issue with a jointer is to have the in feed and out feed tables parallel. For any of the bench top jointer, be it a porter cable, delta, steel city, etc the procedures are about the same.
To check the in feed table on your jointer, you will need a good straight edge and feeler gauges. Do not worry about the out feed table. The out feed table is never adjusted, instead the in feed table is brought to parallel with the out feed table. The key thing to remember is there are four corners and four bolts on the in feed table and each one is independent of the other three. This means any adjustments will change the other three. So this could be a long process, it’s best to give yourself a couple of hours to get complete the task. The upside is that you should not have to do this very often.

- Step 1 Adjust the in feed table so that the highest corner is flush with the out feed table.
- Step 2 With the feeler gauges measure the gap of each corner under the straight edge. (Draw a square on a piece of paper and write down the gap of each corner)
- Step 3 Remove the in feed table by loosening the four allen key bolt. They should be really tight and I used an impact drive to remove them. I doubt a little curve allen key will do the trick.
- Step 4 Adjust the corner that is most out of parallel. And repeat these steps.
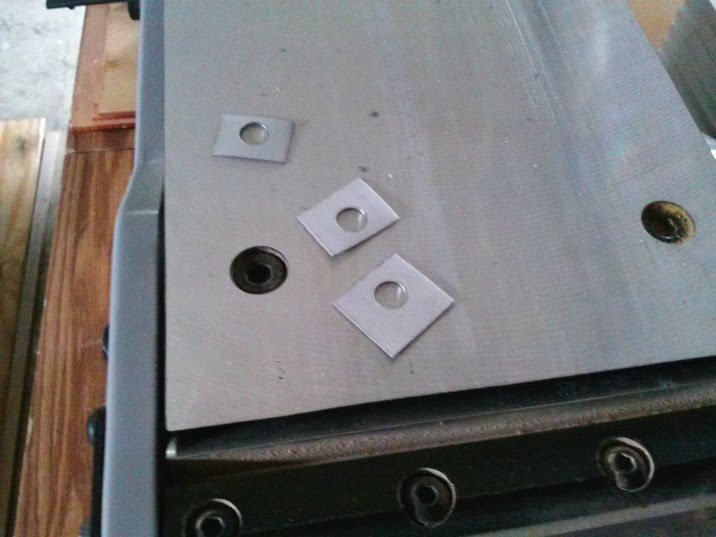
I was fortunate that only one corner was out of parallel and turned out to be .029 in. Lucky for me I just happen to have some sheet metal that was exactly 0.029 in. So I drilled a few holes to make the shims. I only needed one, but I made some extra just in case.
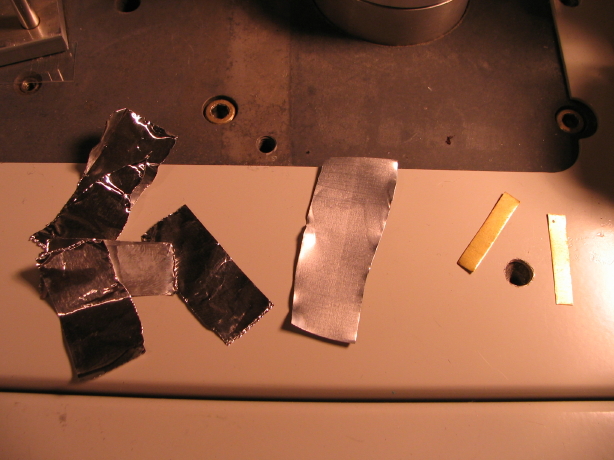
If you are not so lucky to have an exact match, you can make shims out of soda/beer cans, the thickness varies by manufacture. Or you can buy really thin washers or shims at most hardware stores. You can really use anything metal. You do not want to use anything like paper, cardboard, plastic or stuff that will fail over time. The flatness of the shims is not an issue, once you tighten down the allen key bolts the in feed table will flatten the shims.
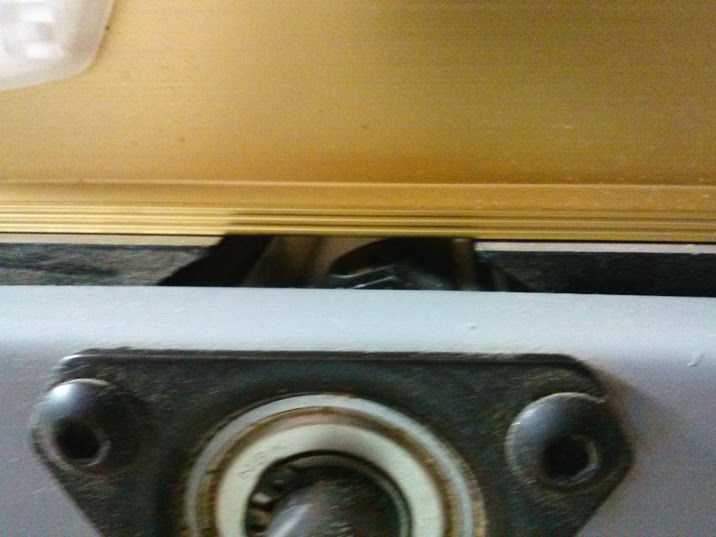
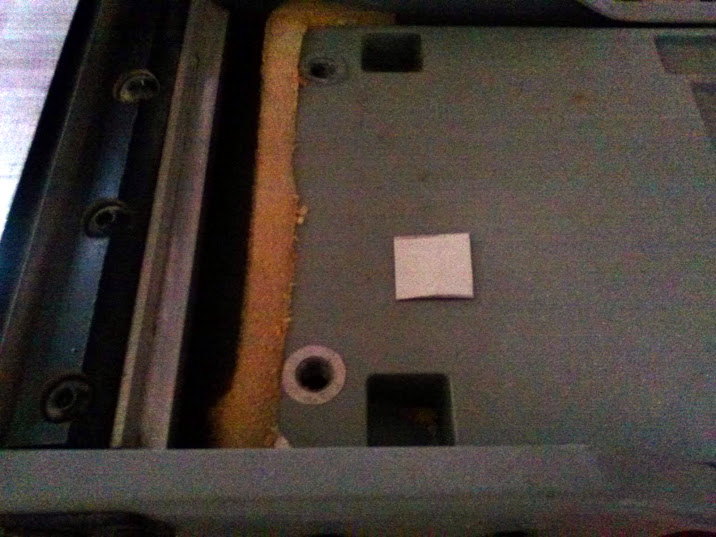
This is the in feed table side of the jointer with the table remove. Notice the two bolt holes (there are 4 total, but only two pictures) which are machined slightly higher the rest of the supporting bracket. This will allow to use just about any shape of size shim, just as long as they do not overlap. The white square is the size I cut the sheet metal for the shim. So you can see there is plenty of room under the in feed table.
Once you have the in feed table in parallel with the out feed table check/adjust the blades and enjoy. Below is a 2 foot long joint between two pieces of acrylic and the dry fit is perfect. Before the adjustment I would have had a small gap right in the middle of the joint.