Check to make sure you have everything you need. This project can be done in a few hours, if you have a helper and you don’t have to stop and go get more supplies. A friend once told me that the first thing you wear out with any project is your tires.
I originally thought I would build as one large unit, but after thinking about moving the garage in to place I decided it would be best to have it in sections. I made a couple of modification so it will be built in 6 pieces to allow for easy moving. The base, walls, roof, back and door will use screws for the assembly and dismantlement. This is not as strong, but it is easy to move.
Building the Deck and Floor – Start out with the deck. This will give you the foundation to build on. You can use the Sketchup drawing to measure out everything, cut it to size and put it together. While this may work, I like to test things as I go along. So this build will follow the drawing, but I will use the real world measurements. Just in case I need a little fudge… The deck is pretty simple and straight forward. Once the deck is done then you can move on to the walls.
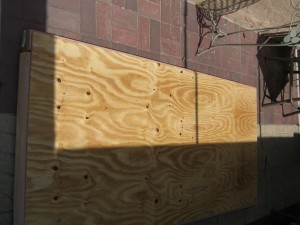
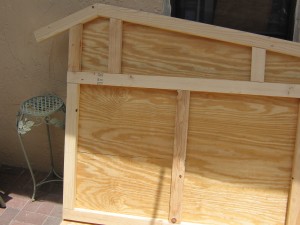
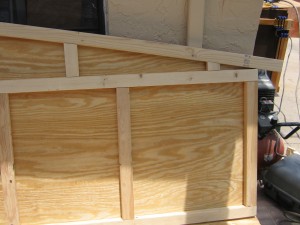
Building the Walls – I design walls after a truss. Since there is not going to any foot traffic inside, it only needs to be strong enough to keep itself together. I cut both walls at the same time with a circular saw. Basically nailed two pieces of plywood together and placed the nails on the scrape portion of the plywood. Once they where squared and tacked, measure out the dimensions and cut them. By cutting them both at the same time, you will save time and the results will be two exactly the same side. And that’s the point.
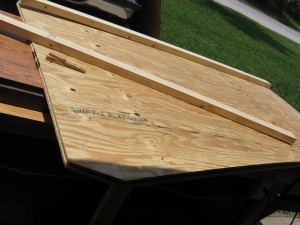
Next cut and attached the 2x3s to each wall. I used braid nails and a nail gun, it’s time saver. But you could do it all with hammer and nails or screws. I started with the bottom, make sure to leave leave an over hang for the base. The over hang will be the thickness of your plywood.
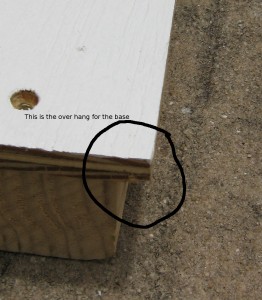
You will need two pieces for the top and there are some angles to cut. The easiest way to make sure you get the angles you need is to take the measurements from the wall. The long pieces over hangs the back by 6 inches and the short piece over hangs the front by 5 inches. Line up the long piece and mark the angle that looks about vertical. For my cut it was about 21 degrees. The angle is not important, just as long as it is semi-vertical. Attach the long piece so that it is flush with the top of the wall. From the long piece you can get the angle for the short piece. For my short piece the angle was about 29 degrees. Once you have the two top piece attached you can layout the horizontal support, which runs the length of the project.Take a full 2×3 and lay it on the wall and snug against the back top support. Take the measurement from the bottom wall support to the horizontal support and mark it at the front so the horizontal support member is parallel to the bottom support member. Now you can cut all the vertical supports the same size. You will need 8, four for each side. With the scrapes you can build the top vertical supports.
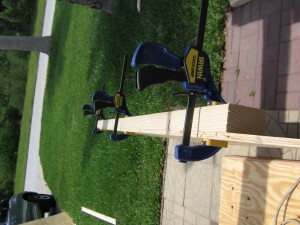
Lawn mower Garage – The Build Part Two
Could you simplify it and just have a lean-to style roof or is there a specific reason for the 2-part A-frame roof?
You could use a single slopped roof. The short slope on the front is mainly to protect the vent or gap over the door. It keeps the rain out and allows air flow through the front. There is also a vent in the back. By using this type of roof you can make the overall length shorter. With a single sloped roof the high would need to be about 12 inches long and make the roof a little wider to protect the top of the door from rain.
Ah, I see…thank you!